Frontegg Documentation
What Is Frontegg?
Frontegg is a first-of-its-kind full-stack user management platform, empowering software teams with user infrastructure features for the product-led era
Suggest Edits
Frontegg is a first-of-its-kind full-stack user management platform, empowering software teams with user infrastructure features for the product-led era. From the most fundamental authentication flows to the most complex use cases, Frontegg has you covered.
Our platform offers innovative security solutions to user and identity management, powered by seamless customer experiences. Frontegg is the only platform that provides complete user management experience, with a customizable Admin Portal layer for your end users. It takes minutes to integrate, and forever to forget about.
We believe while user management starts at auth, it doesn’t end there. Modern applications need a user management solution that connects identities to user data, without compromising on security nor privacy.
Why Frontegg is Different ?
Blazing-fast integration - in just 5 lines of code you have Frontegg’s entire platform suite in your app.
- Innovative security methods - Your auth is in good hands -
- Delightful customer experiences - not just APIs - UIs. You get the full package.
- Complex use-case coverage - from complex organizational structures (multi-tenancy) to fine-grained authorization.
After following one of the guides, you will have a working application capable of:
Passwordless or password authentication
- Social logins
- Single sign-on
- Multi-factor authentication
- reCAPTCHA
- JSON Web Tokens
- User management
- Role and Scopes
- Email templates
- Webhooks
- Custom styling
- And so much more . . .
Follow our guides to learn how to enable and configure the features you want.
What will we build?
In this quickstart, we will add the Frontegg hosted login box to your React application.
In 5 minutes from now, your application will have a login box with Sign in, Sign up, and SSO. All this with just a few lines of code using redirects, Open Id Connect, and OAuth2.
⚡ Before you start: ⚡
Getting your Frontegg subdomain and clientId
Frontegg creates a unique
subdomainandclient idfor every workspace created on the account. In order to retrieve theclientIdsubdomainthat will act as thebaseUrlin the integration, navigate to your workspace administration menu, and copy theworkspace domainandclientId.You will need them for this guide.
STEP 1: Create React app
If you have an existing app, skip this step.
To create a new app, use the following script.
STEP 2: Install
Run the following command to install the Frontegg React.JS library.
STEP 3: Configure
Wrap your root component with FronteggProvider.
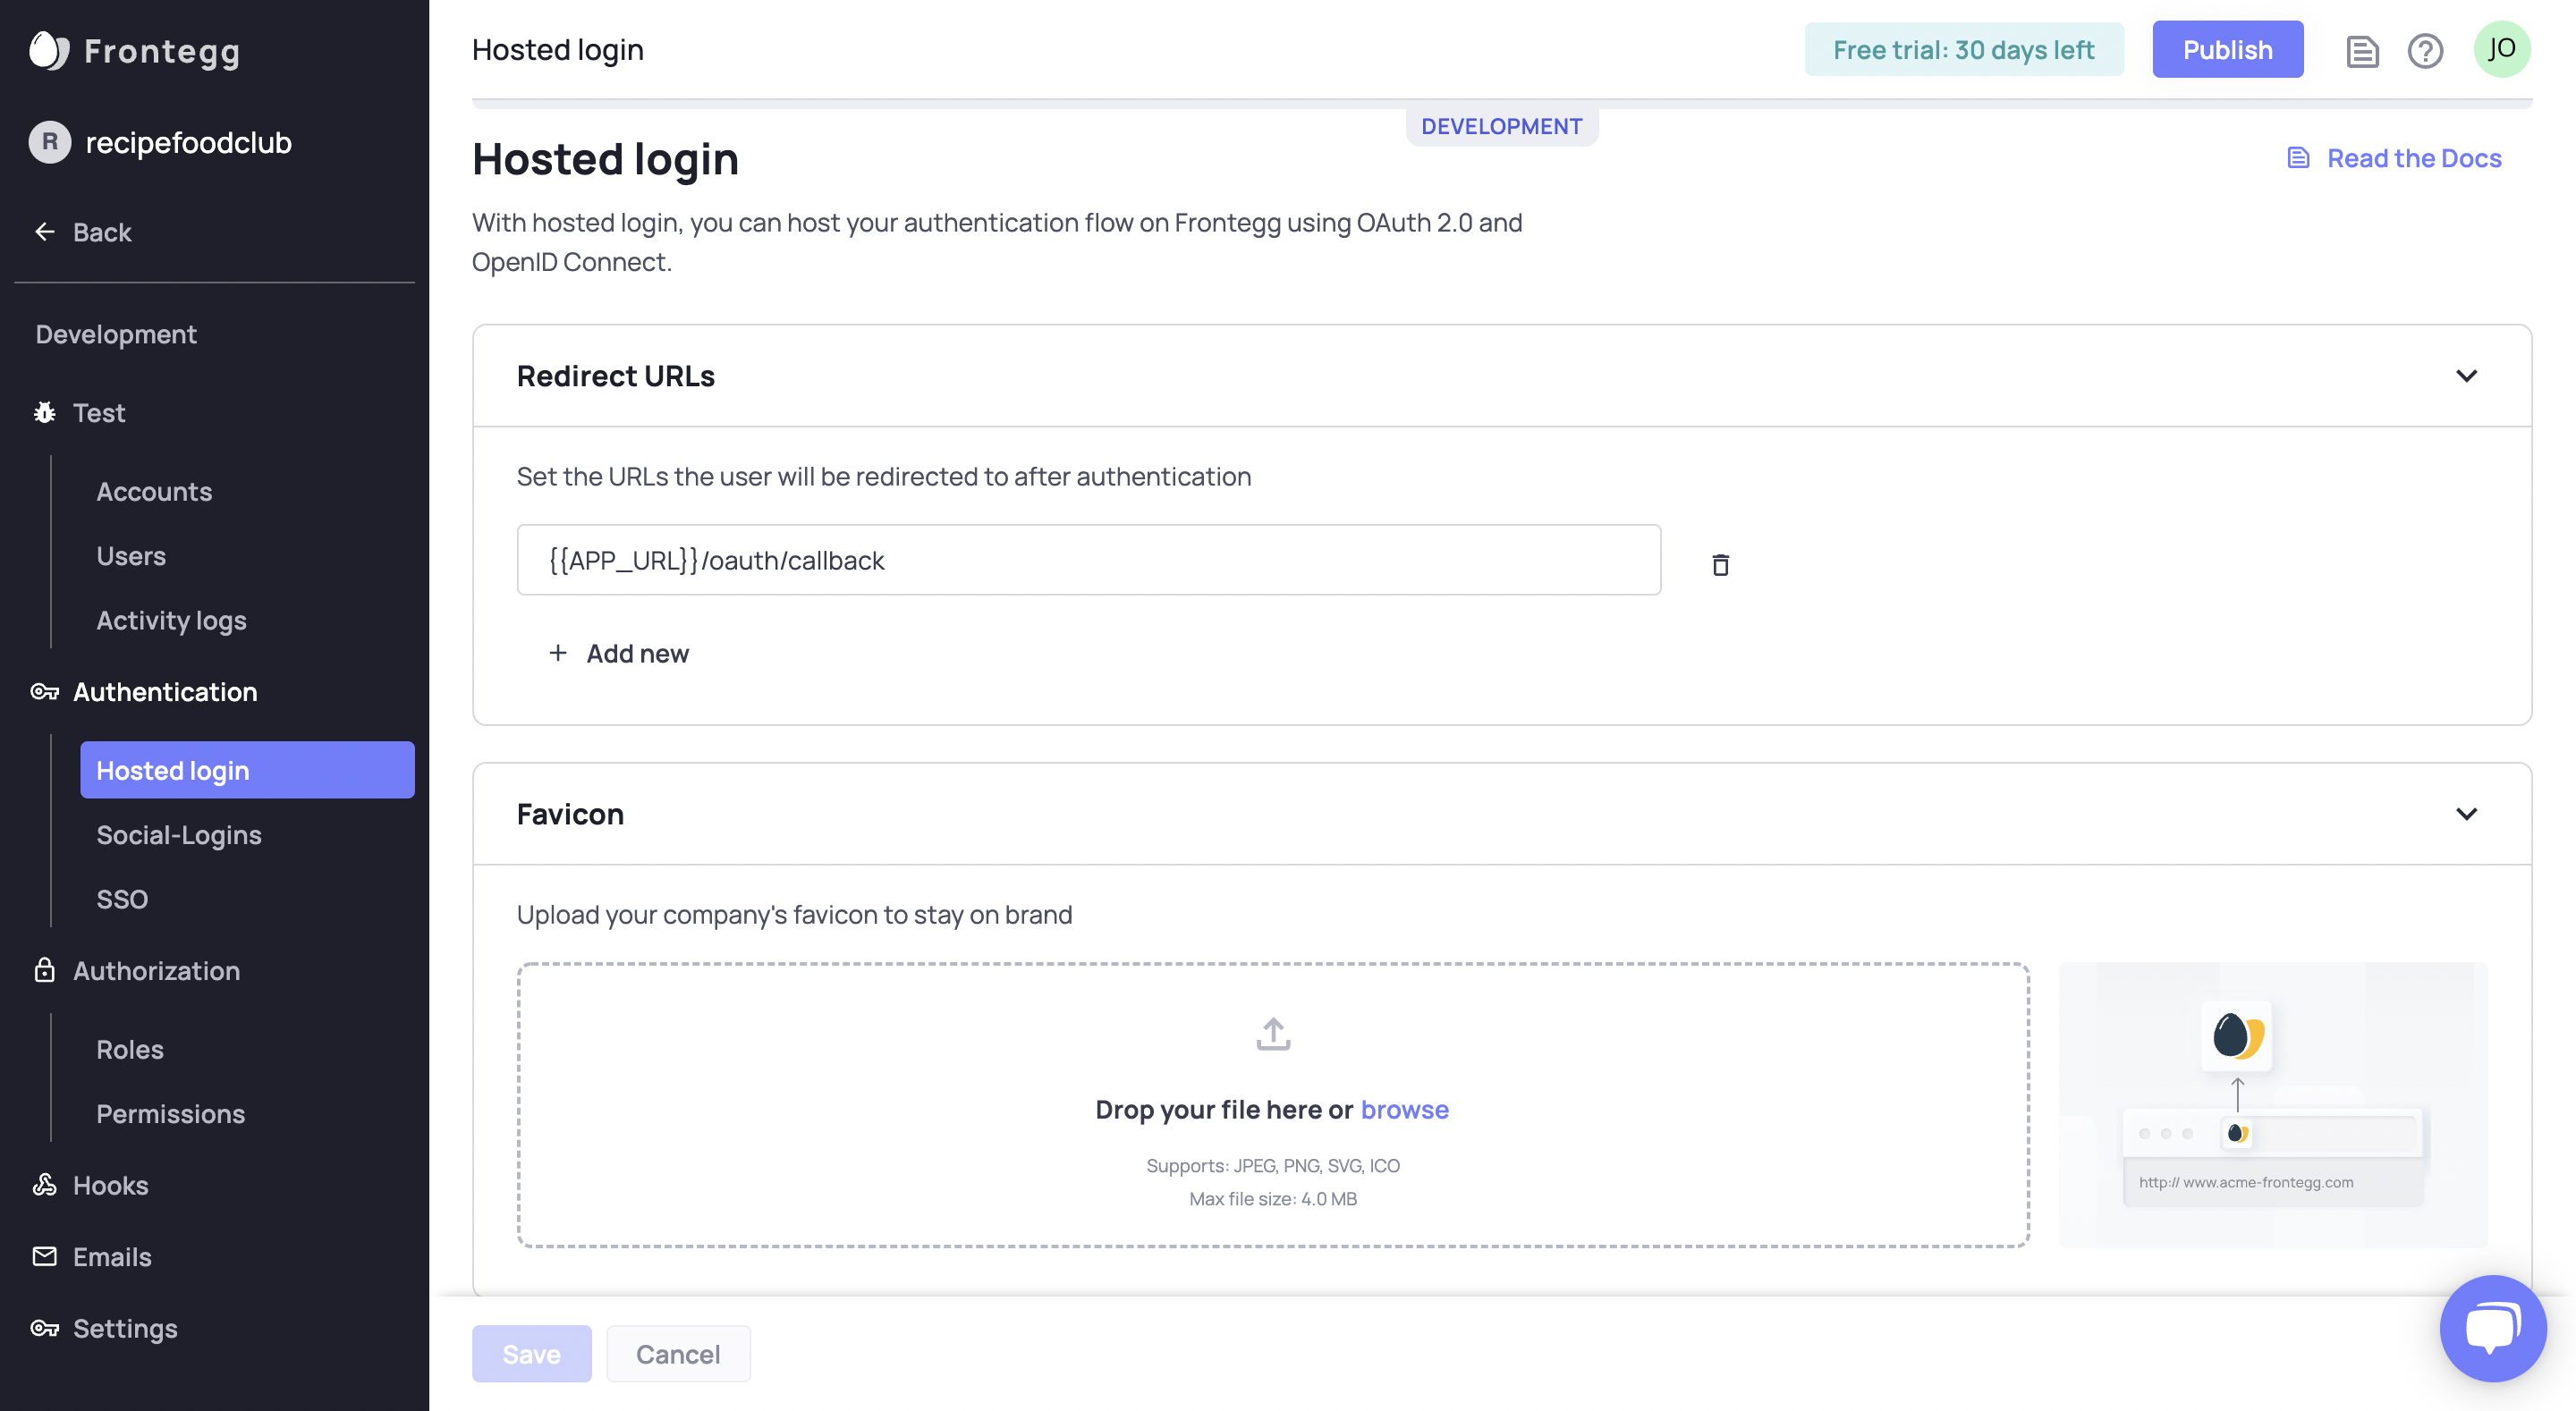
Under the hosted login configuration, add http://localhost:3000/oauth/callback as the allowed redirectUrl

Configure Each Environment
Configure the hosted login for each environment separately.
STEP 4: Redirect to login
Using the Frontegg useAuth hook, you can determine whether a user is authenticated or not. If the user is not authenticated, you can redirect the user to login via the useLoginWithRedirect hook as shown below.
Great, Frontegg is now integrated with your app!
Try it now!
Run your app and click on the Click me to login button.


Comments