📘 If you have an existing app, skip this step.
Install Angular command line interface.
Shell
npm install -g @angular/cli
To create a new app, use the following script.
Shell
ng new my-app
cd my-app
ng serve --open
Run the following command to install the Frontegg Angular library.
npm yarn
npm install @frontegg/angular
Add FronteggAppModule Add FronteggComponent app.module.ts
import { BrowserModule } from '@angular/platform-browser' ;
import { NgModule } from '@angular/core' ;
import { AppRoutingModule } from './app-routing.module' ;
import { AppComponent } from './app.component' ;
import { CommonModule } from '@angular/common' ;
import { FronteggAppModule , FronteggComponent } from '@frontegg/angular' ;
@ NgModule ({
declarations : [AppComponent ],
imports : [
CommonModule ,
BrowserModule ,
AppRoutingModule ,
FronteggAppModule .forRoot (
{
contextOptions : {
baseUrl : 'https://[YOUR-SUB-DOMAIN].frontegg.com' ,
clientId : '[YOUR-CLIENT-ID]'
},
hostedLoginBox : true ,
}
),
],
entryComponents : [FronteggComponent ],
bootstrap : [AppComponent ],
})
export class AppModule { }
In app.component.ts loginWithRedirect
app.component.ts
import {Component , OnDestroy , OnInit } from '@angular/core' ;
import {Subscription } from "rxjs" ;
import {FronteggAppService , FronteggAuthService } from "@frontegg/angular" ;
@ Component ({
selector : 'app-root' ,
templateUrl : './app.component.html' ,
})
export class AppComponent implements OnInit , OnDestroy {
isLoading = true ;
loadingSubscription : Subscription ;
user ? : any ;
constructor (private fronteggAuthService : FronteggAuthService , private fronteggAppService : FronteggAppService ) {
this .loadingSubscription = fronteggAppService .isLoading$ .subscribe ((isLoading ) => this .isLoading = isLoading )
}
ngOnInit (): void {
this .fronteggAuthService ?.user$ .subscribe ((user ) => {
this .user = user
})
}
loginWithRedirect (): void {
this .fronteggAuthService .loginWithRedirect ();
}
ngOnDestroy (): void {
this .loadingSubscription .unsubscribe ()
}
}
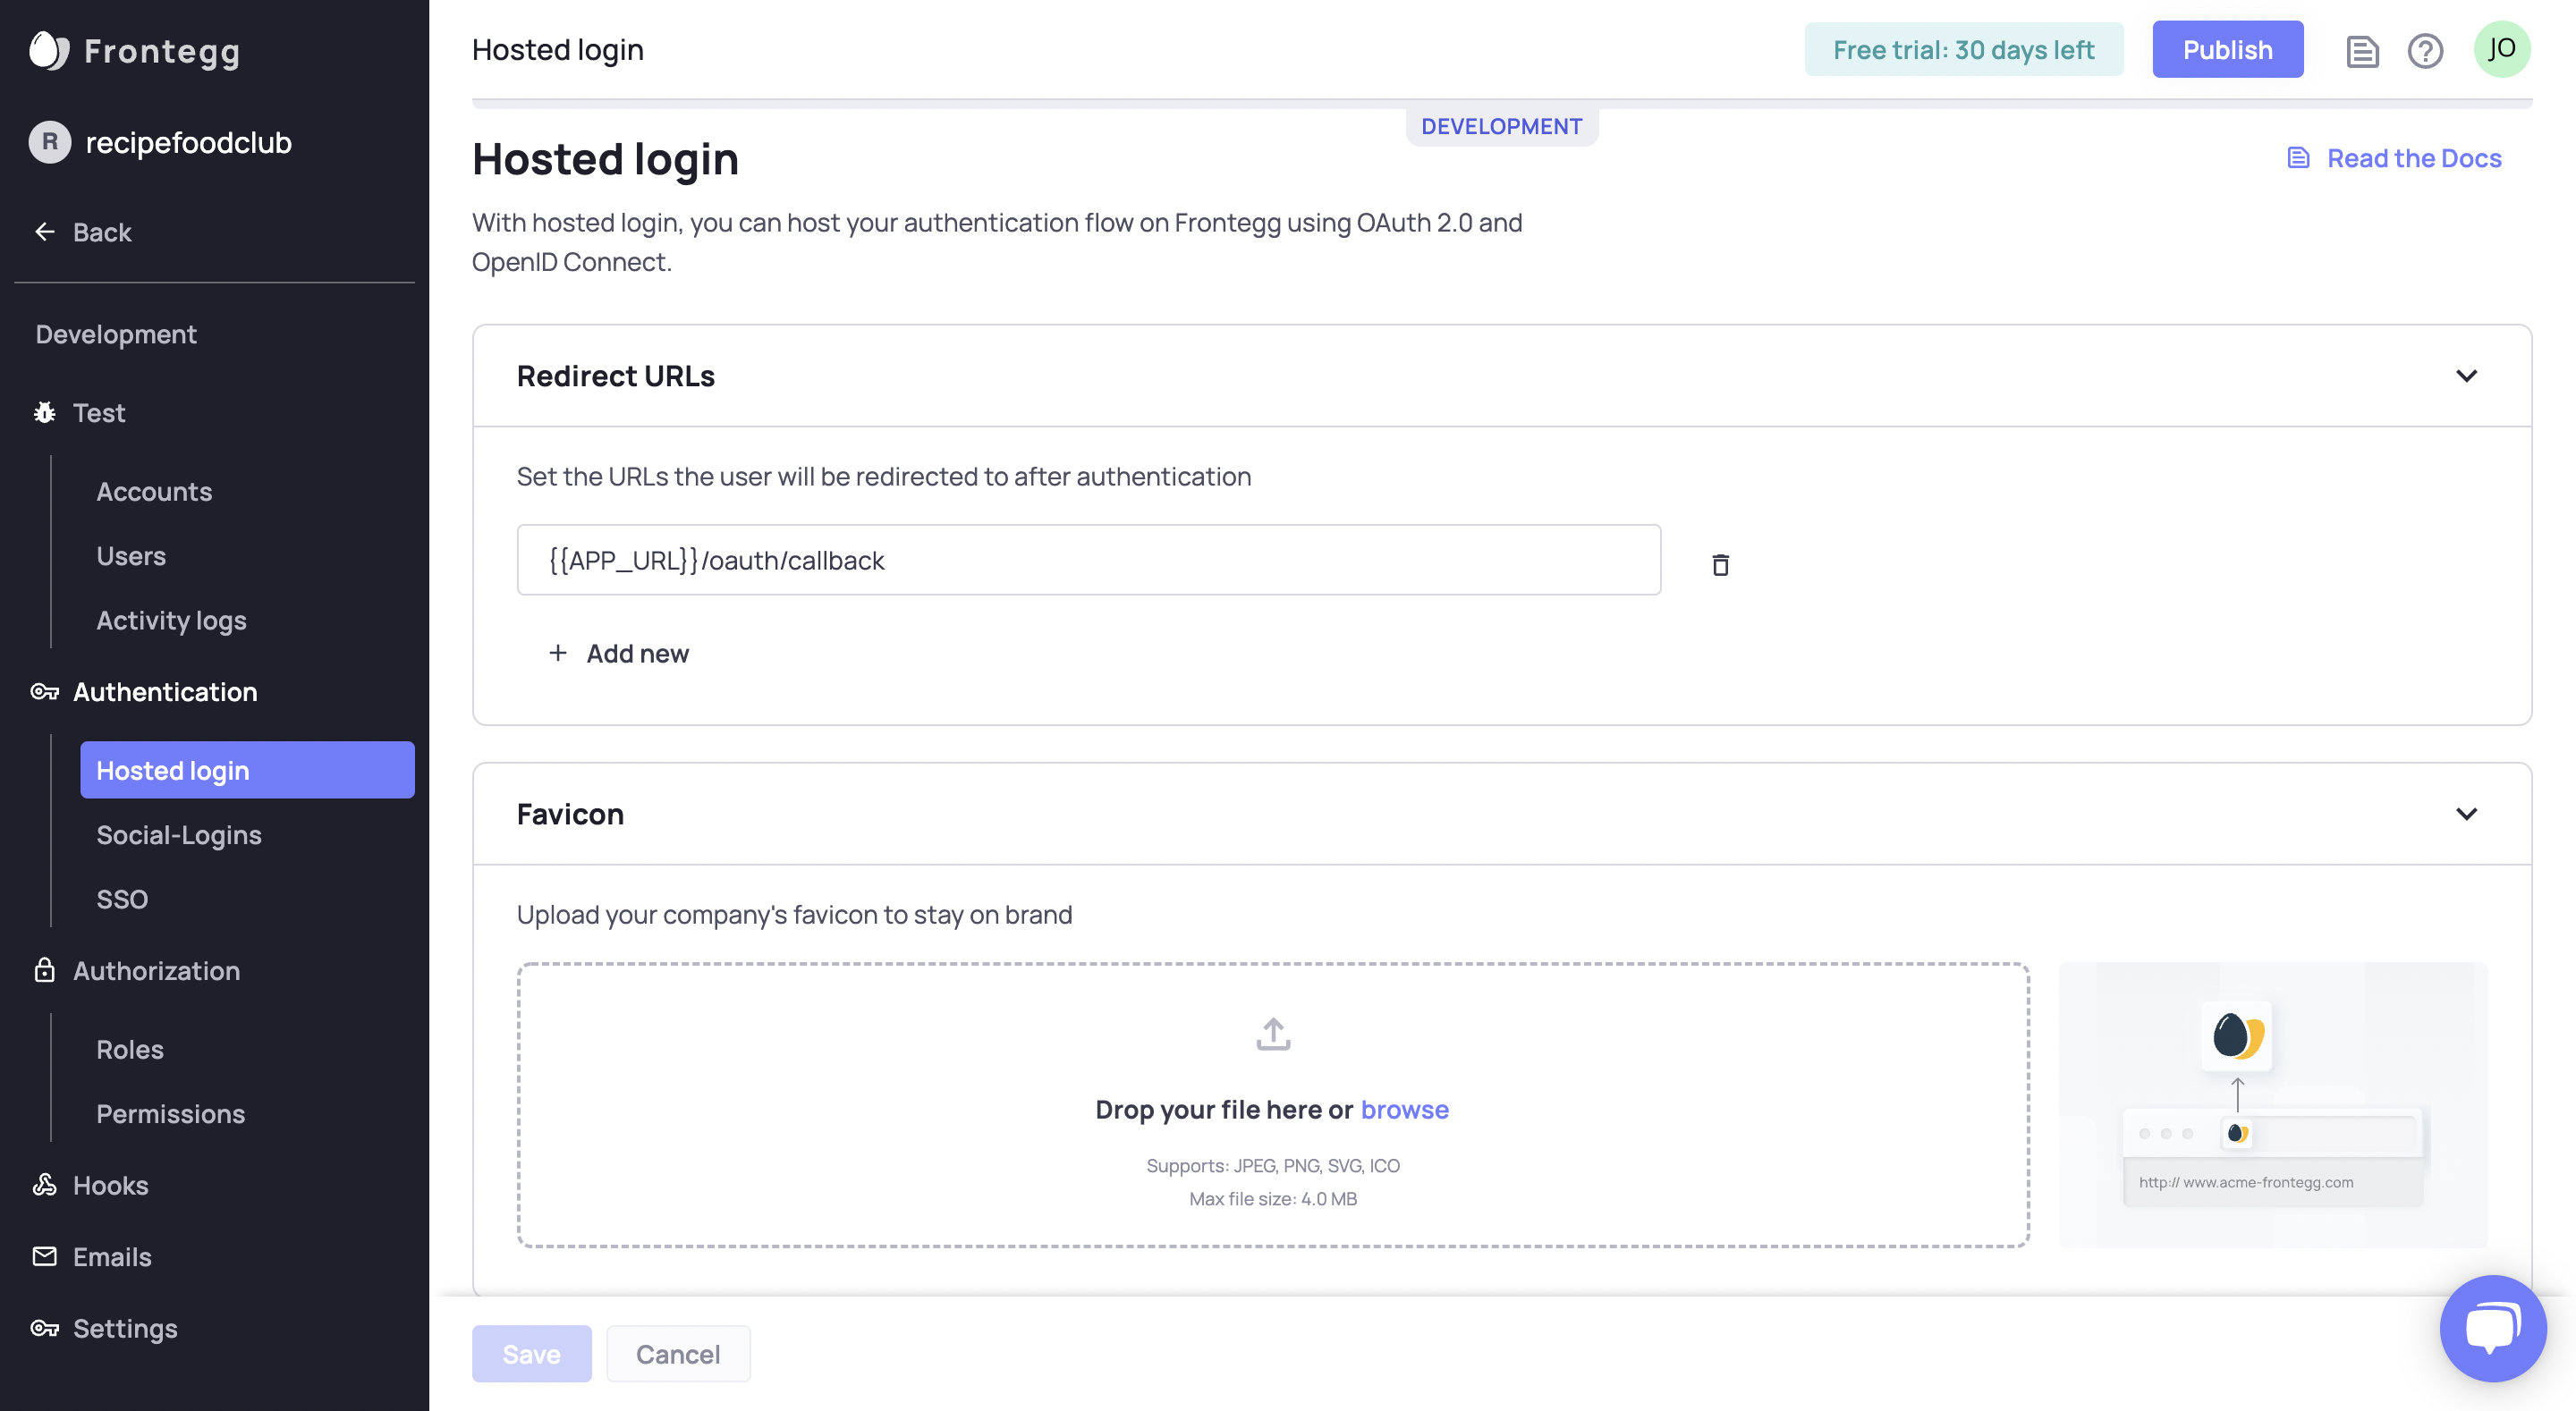
On the hosted login configuration , add http://localhost:4200/oauth/callback redirectUrl
🚧 Configure Each Environment
Configure the hosted login for each environment separately.
In app.component.html loginWithRedirect() user
app.component.html
< div *ngIf ="!isLoading" >
< div *ngIf ="user" >
< img src ={{user?.profilePictureUrl}} alt ={{user?.name}} />
< div > User name: {{user?.name}}</ div >
</ div >
< div *ngIf ="!user" >
< button (click) ="loginWithRedirect()" > Login with redirect</ button >
</ div >
</ div >
Great, Frontegg is now integrated with your app!


Comments